
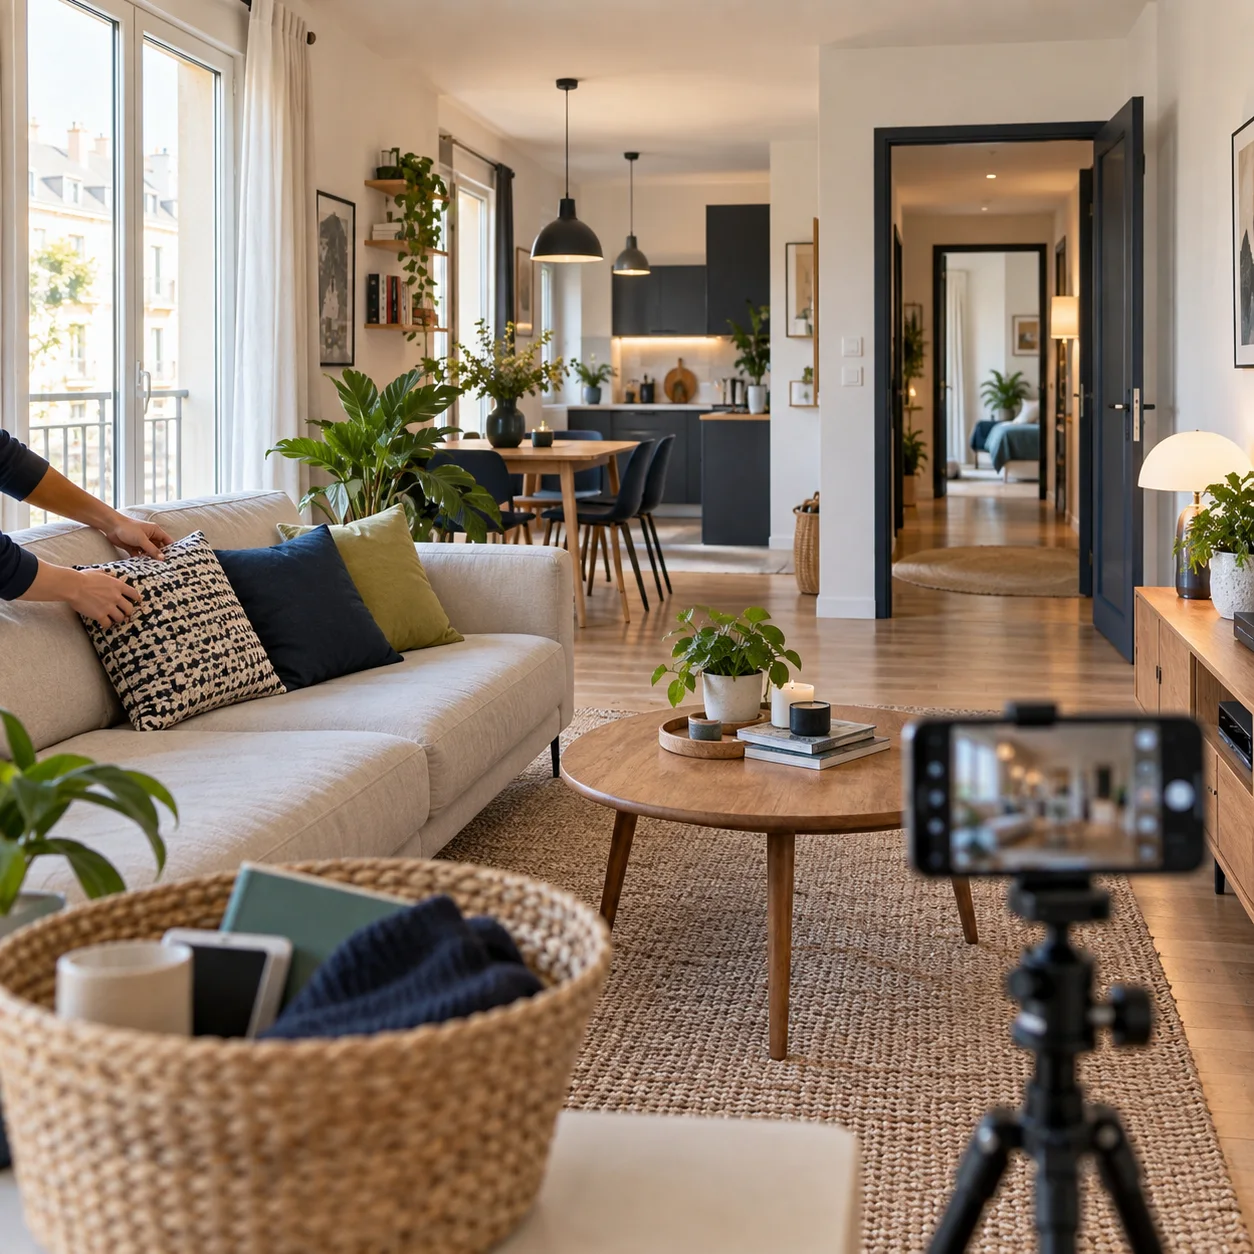
The quick preparation checklist

- Open curtains or shutters and switch on useful lights.
- Clear doorways, corridors and stairs.
- Put away documents, valuables and personal photographs.
- Remove loose cables, laundry and cleaning products.
- Clean the phone lens and walk the intended route.
Keep the home clear and faithful
Tidy without emptying
Furniture helps viewers understand scale and use. Clear distracting surfaces while keeping a realistic picture of the home.
Balance the light
Use daylight where possible and avoid pointing directly into a bright window. Check the preview for dark corners. Optional AI enhancement in 1p1 can rebalance exposure; compare the result with the original before choosing it.
Protect privacy
Look for addresses, family photographs and documents. Check mirrors and windows for reflections of people or private details. Agree photography with anyone living there.
Entrance, corridors and stairs
Clear shoes, bags and obstacles. Keep useful doors open so the next room is visible. The first view should give a clear starting point. An attractive isolated room is less useful if viewers cannot work out how to reach the rest of the home.
Living room and kitchen
Living room
Tidy tables, straighten chairs and cushions, and clear the route around furniture. Avoid cables across the floor. Keep doorways visible in the photo.
Kitchen
Clear worktops, empty the sink and put away packaging and cleaning products. Close drawers. Leave enough everyday context to show the room’s purpose, without hiding its condition.
Bedrooms and bathrooms
Make beds and put clothes away. Keep furniture that shows the room’s usable space. In bathrooms, tidy towels and toiletries, clean mirrors and check reflections. In small rooms, choose a useful viewpoint rather than an extreme wide-angle setting that distorts proportions.
Outdoor areas and additional rooms
Include a balcony, garden, garage or cellar when relevant to the listing. Show access as well as the space itself. Keep paths clear and photograph real conditions. Avoid framing that exaggerates the size of an outdoor area.
Plan the route before photographing
For a flat, a route might be entrance → living room → kitchen → hallway → bedrooms → bathroom. For a house, include stairs, upper floors and the garden where they connect. Follow the real layout rather than forcing every home into the same sequence.
Check each transition in both directions. A viewer should be able to return to the previous room without restarting the tour.
The final walk-through
Check light, clear passages, privacy and coverage of important rooms. Charge your phone and choose one photo orientation for the tour. Once the photos are linked, test the result as a buyer would, without relying on your own knowledge of the property.
Start photographing and linking rooms.
Try your first property tour
Create and preview for free. Publish when the tour is ready.
Get the app