
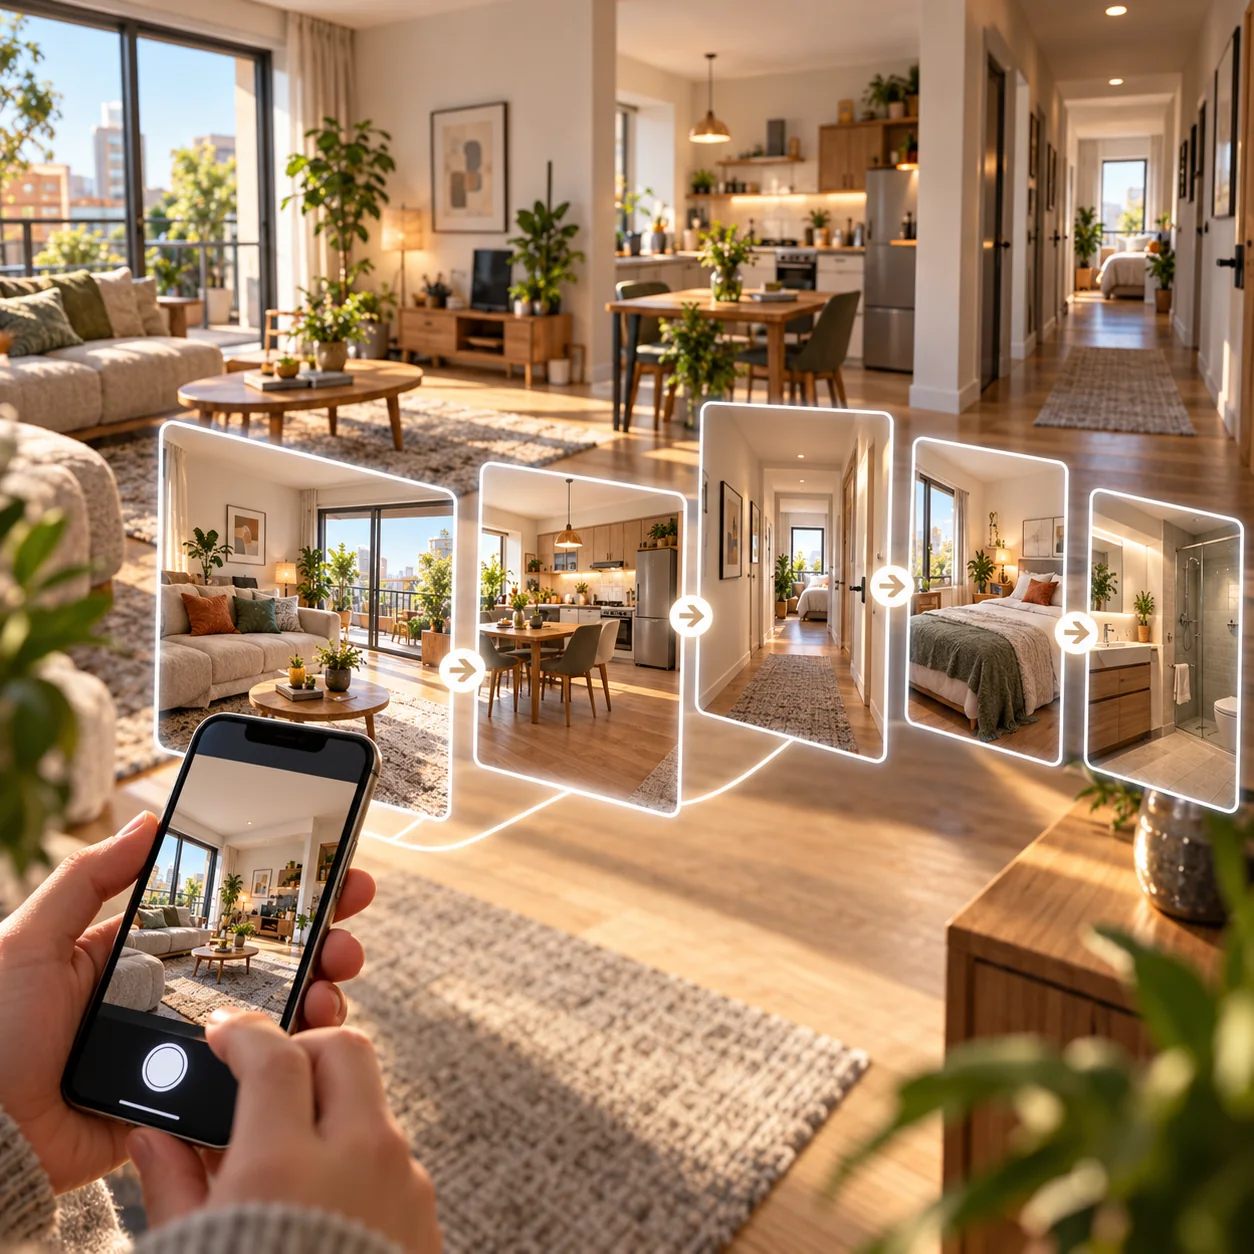
Creating a property tour does not necessarily mean scanning a home in 3D or producing spherical panoramas. To help buyers understand the layout, you can link ordinary photos and let them choose which room to explore next.
Your tour in 6 steps
Prepare, photograph, link, check, publish, share.
- Prepare the property and clear the doorways.
- Choose one photo format for the whole tour.
- Take a clear photo of the first room.
- Place a marker on each useful doorway.
- Test the routes in both directions.
- Publish only when the preview is easy to follow.
An interactive photo tour: buyers tap a marker on a doorway to move to the corresponding room. They open the result in their browser without installing an app.
What equipment do you need?
A recent smartphone with enough battery and storage is all you need. 1p1 uses ordinary photos: no 360° camera, 3D scanner, tripod or extra lens is required.
Before taking photos, clean the lens and turn off filters that significantly change the colours or proportions of the room.
Prepare the property before taking photos
Start by tidying surfaces, opening blinds or shutters, switching on useful lights and removing personal items. Clear doorways and routes between rooms: these will form the structure of the tour. Good preparation matters even when you use optional AI photo enhancement.
- Clean your smartphone lens;
- take photos in daylight when possible;
- keep people, documents and personal photos out of shot;
- close off areas that should not appear in the tour.
For a room-by-room checklist, see our guide: how to prepare a property for a virtual tour.
Create the tour and choose the photo format
In 1p1, create a new tour and give it a name you can easily find again. Then choose the photo format to use throughout. Landscape usually shows routes between rooms more clearly; portrait may suit a narrow space or a mainly mobile audience.

Take the first room photo
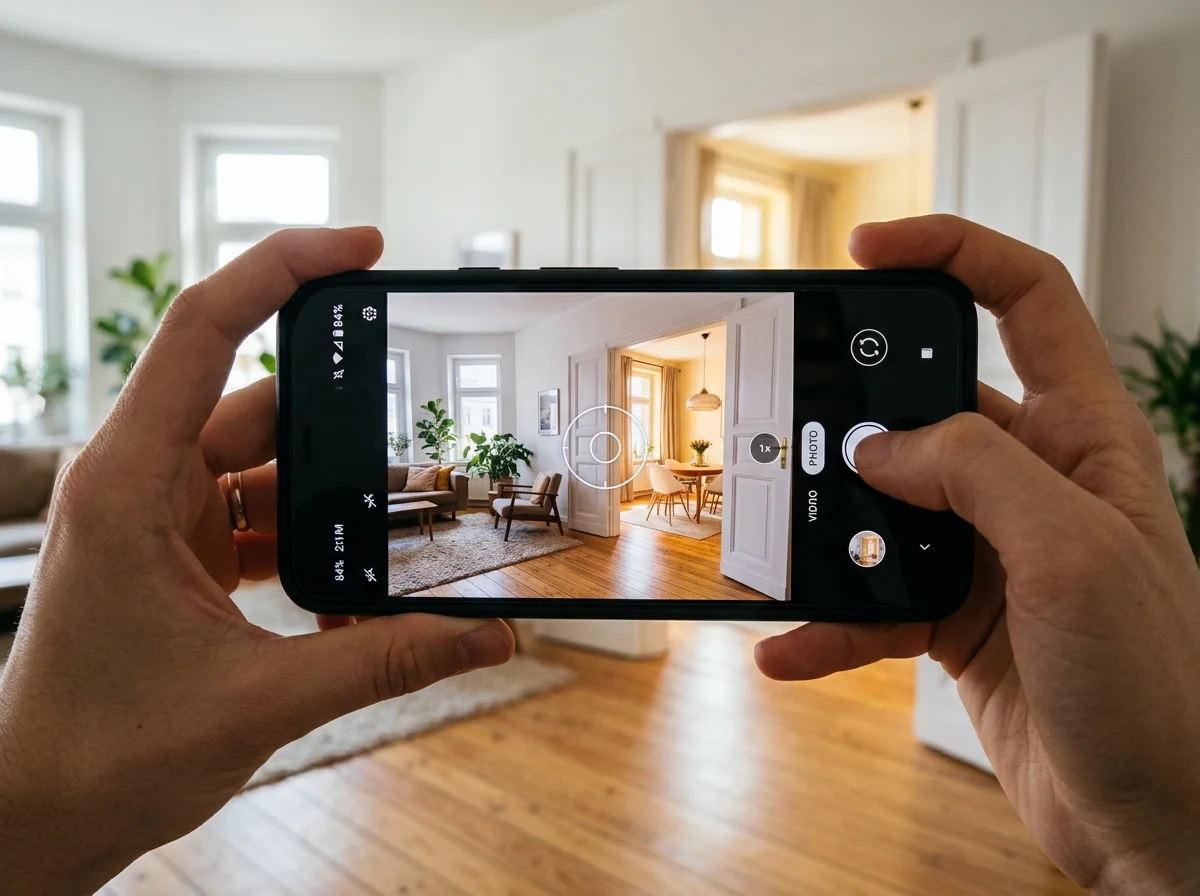
Start with the entrance or the room that best introduces the property. Hold the phone level at a natural height and keep the openings to other spaces visible.
One well-chosen photo can be enough for each room. Adding unnecessary views makes the tour longer and gives buyers more decisions to make.
Place a marker and photograph the next room
Tap an opening in the photo. A marker appears at that point. Choose the direction of the passage, then take a photo of the next room. The app links the two views.
Repeat this from each room until all important doorways are linked. The aim is to make the layout clear, rather than cover every angle of the property.

Check return routes and consistency
A good tour lets visitors move forward and go back. Check that a passage from the living room to the kitchen also has a clear return route. Then check room names and marker positions.
Explore the result as if you had never seen the property. If you are unsure where to go, buyers may be too. Move the marker or choose a clearer photo.
Preview, publish and share
Creation and preview in 1p1 are free, so you can test the complete tour before publishing. Once everything is clear, publishing gives you a link to include in a listing, email or message.
The €9.90 publication price includes three months of hosting. Buyers open the link in their browser on a phone or computer. They do not need an account or an app. AI photo enhancement is an optional paid feature.
For advice on publishing and sharing your link, see our guide to adding a property tour to a listing. Check the link and video options available on your own platform.
Final checks before publishing
- All important rooms can be reached in the tour.
- Each marker sits on the opening it represents.
- Return routes work and are easy to understand.
- No people or personal information appear in the images.
- The link has been tested on a phone and a computer.
The cost depends on the method and how long you keep the tour online. For more detail, see our guide to property tour pricing. Once your link is live, use it as a pre-viewing tour to qualify buyers, helping them decide whether to book an in-person viewing.
The most common mistakes
- Photographing a doorway without showing its surroundings;
- placing a marker far from the actual opening;
- changing the photo format or height between rooms;
- adding several views when one is enough;
- forgetting the return route to the previous room;
- publishing without previewing the entire tour again.
What if you need a 360° or 3D tour?
This tutorial creates neither 360° panoramas nor a digital twin. Those technologies meet different needs and may require specialist equipment, capture or processing. To compare them before choosing, see our guide to property tour solutions.
Start creating your first tour.
Create and preview your tour for free, then publish when you are ready. Optional AI photo enhancement is charged separately.
Download 1p1